
n8n social media automation: post to your networks and your customers' from one node
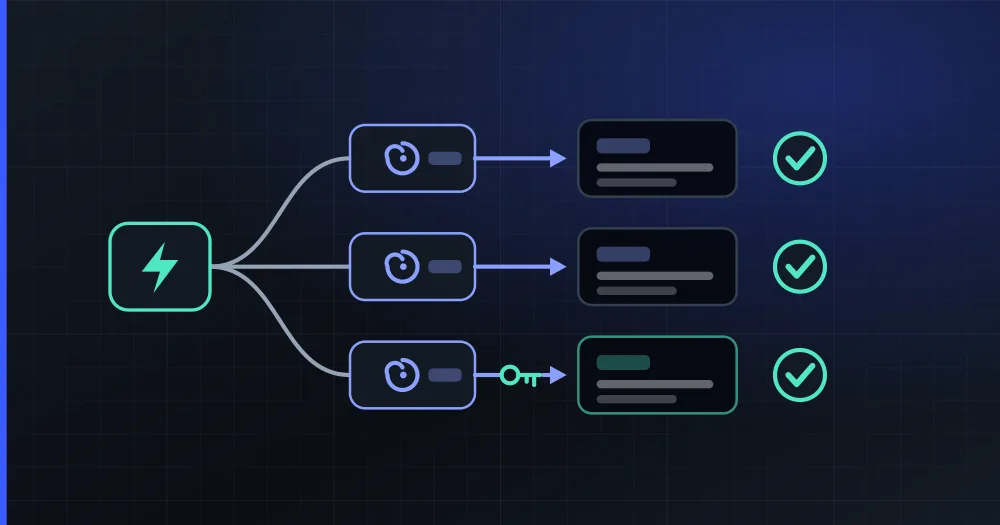
Install the verified PlanVortex node, create a credential with an app's client ID and secret, and add a PlanVortex step that creates a publication. That is the whole setup for posting from n8n. The node publishes to the accounts connected in PlanVortex, yours or your customers', and it schedules, uploads images and video, and works the comment inbox from the same workflow.
Verified on October 12, 2026 against the node's source code, n8n's registry of verified community nodes and PlanVortex's production API.
What do you need before you start?
Three things:
- A PlanVortex account with an app. Create the app in the dashboard under Settings → Apps and copy its
client_idandclient_secret. Apps are on every plan, the free one included, so the workflow can be built and tested without a card. - The social accounts connected in PlanVortex. Your own ones from the dashboard; your customers' through a link the node creates for them (more on that below).
- n8n, on n8n Cloud or self-hosted.
How do you install the node?
On n8n Cloud the node is verified, so it installs from the nodes panel: search for PlanVortex and install it. Only the owner or an admin of the instance can do this.
On a self-hosted n8n, go to Settings → Community Nodes, choose Install and enter n8n-nodes-planvortex.
How do you set up the credential?
Create a PlanVortex OAuth2 API credential and fill in three fields:
| Field | Value |
|---|---|
| Base URL | https://api.planvortex.com/v1.0.0 (leave it as it is) |
| Client ID | the app's client_id |
| Client Secret | the app's client_secret |
There is no Connect button, because an app's credentials need no consent screen. Press Test instead: it asks PlanVortex for a token and reads back the organizations the app can see. n8n keeps the token and renews it when it expires.
How do you publish a post from a workflow?
Add a PlanVortex node with resource Publication and operation Create. The organization and the account are dropdowns filled from your own data, so nobody has to paste an id (both still take an expression when the id comes from an earlier step).
- Text is the body of the post. Each network counts it differently, and PlanVortex checks it against that network's limit before sending anything.
- File IDs attach images or video. The file goes up first with Media → Upload, which reads the binary data of the incoming item (from an HTTP Request download, Google Drive or anything else that produces a file) and returns the id to pass here.
- Publish Date, under Additional Fields, schedules the post. Empty means now.
A post with a problem (a text that is too long, an Instagram post with no image) does not come back as an HTTP error. PlanVortex stores it with the reason and answers 200, and a workflow that only watches for errors would report it as sent. Fail on Publication Errors, on by default, turns that into a failed step with the reason in plain words. Keep it on, and switch on Continue On Fail when a workflow posts to several accounts, so one disconnected account costs that item and not the whole run.
What does a real workflow look like?
The one we had in mind while building the node: a release goes out on GitHub and the same run announces it everywhere it should be read.
- GitHub Trigger, on the release event.
- PlanVortex → Create on the company's LinkedIn page, with the release notes as text.
- PlanVortex → Create on the
#announcementschannel of the customers' Discord. - PlanVortex → Create on the team's
#generalchannel in Slack.
Without the node those are three separate integrations, each with its own authentication and its own errors. Here they are three copies of the same step with a different account picked.
Two of those channels have a setup step of their own. On Slack the PlanVortex app has to be inside the channel, and on a private channel someone has to invite it with /invite @PlanVortex. Discord connects with a Discord application of your own, which the Discord publishing guide walks through.
How do you publish to your customers' accounts?
This is the part a workflow cannot do alone. Connecting a social account is an OAuth flow, and the network wants a person to click "authorize" on its own screen.
What the node gives you is Account → Create Connect Link: a single-use link, valid for fifteen minutes, that you can tie to one network and send wherever you like (an email node, your app's onboarding, a Slack message to the customer). When they finish, the account appears in the organization and Account → Get Many lists it, ready to be picked in the Create step.
It is the piece Buffer's n8n node does not have, because Buffer has not given third parties access to its customers' accounts since 2019. The details are in Buffer's API in n8n.
Can the workflow answer comments too?
Yes, on a paid plan. Comment → Get Many reads the inbox, unread comments only by default, and filters by account, post, network or rating. Comment → Reply answers one by its id. A Schedule Trigger every few minutes, a step that drafts the answer and a Reply step make a working moderation loop, and a human approval in the middle makes a safer one.
Not every network has an inbox (Slack, for example, publishes and stops there). Social Network → Get Capabilities says what each network supports, so a workflow can branch on it before it fails on it.
When do you still need the HTTP Request node?
The node does seven operations: create a publication, upload media, list accounts, create a connect link, read comments, reply to them and get capabilities. Those are the ones workflows ask for. The API has many more (stats, private messages, the AI planner), and any of them is an HTTP Request node away, signed with the same PlanVortex credential. The full reference is at /en/documentation.
Which route fits which case?
- To post to your own accounts from n8n, the PlanVortex node and the free plan are enough.
- To post to your customers' accounts, the same node plus Create Connect Link for the onboarding.
- To work the comment inbox from a workflow, a paid plan.
- For anything beyond the seven operations, an HTTP Request node with the same credential.
The node's code and instructions are at github.com/taliasoftworks/n8n-nodes-planvortex and the API at /en/developers.
Is there an n8n node for posting to social media?
Yes. PlanVortex publishes a verified community node, n8n-nodes-planvortex. On n8n Cloud the owner or an admin of the instance installs it from the nodes panel by searching for PlanVortex; on a self-hosted n8n it is installed from Settings > Community Nodes. It publishes or schedules posts, uploads media, reads and answers comments and creates the link a customer uses to connect an account. Verified October 12, 2026.
Does it cost anything?
The node is free and MIT licensed. It signs in with an app's client_id and client_secret, and every PlanVortex plan has apps, the free one included (one app on free, two on basic, five on pro, up to ten on custom). Reading and answering comments needs a paid plan; publishing does not.
Can an n8n workflow publish to my customers' social accounts?
Yes, once they have connected them. Connecting an account is an OAuth flow that a person has to approve on the network's own screen, so the workflow cannot do it alone. The Create Connect Link operation returns a single-use link that lasts fifteen minutes; send it to your customer and the account appears in the organization when they finish.
Can I schedule posts instead of publishing them straight away?
Yes. Fill in Publish Date in the Create operation and PlanVortex sends the post at that time, whether or not the workflow is still running. Leave it empty to publish in the same request, or set State to Draft to leave it for a person to review.